Here is somewhat of a documentation of the Nava 909 kit build I completed for a client during the first 2020 lockdown. Keep in mind, this is not meant to be a guideline in building the Nava, just some nice close-up shots. Unfortunately my phone camera at the time was pretty dreadful so the images are not perfect and a lot of the process was left out due to blurry results. I took three times the amount of photos here but most weren’t usable. Shame! I also somehow completely forgot to record a video of it in action but there are many videos of it online. After spending a few hours cropping and adjusting the pictures to make them look good/decent, I selected the best and wanted to share them here. I have since then got a new phone with a much better camera!
Either way, I hope these images help someone out or inspire someone to make one too. There were a few moments while building this kit where I had to search online to see if I was making a mistake and some close-ups would have been nice. If you are also building this kit, and need any help, feel free to contact me and I will do my best to assist! I would also like to mention that this is not the most difficult build but the guidelines were not 100% clear and there were some rather confusing moments while working on it. If you are planning on building the Nava be prepared to dig through the forum for FAQ (which does not always give you an answer). A lot of the components were not available from the Mouser BOM so I had to find them from other sources since the waiting time for most parts to restock was 6 to 8 weeks. It seems this is a bit of an issue with a lot of kits out there!
Anyway – On to the photos!
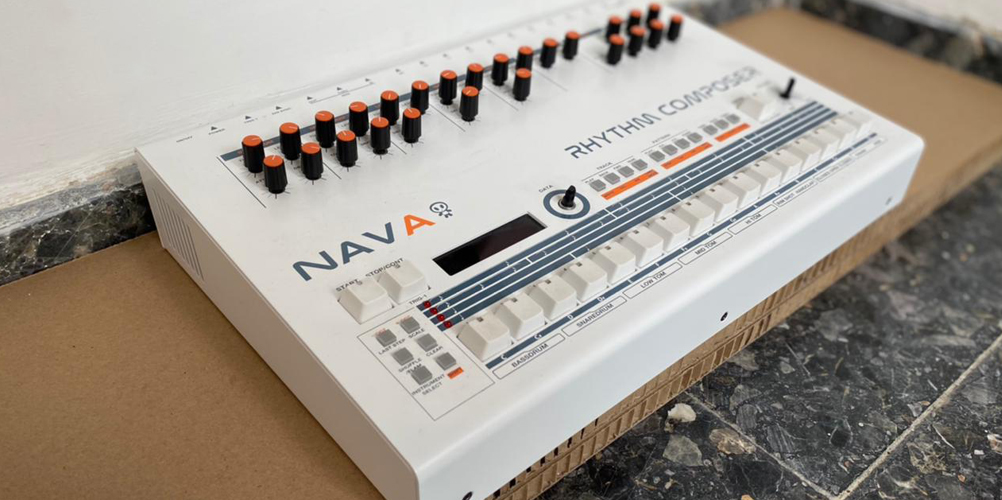
The completed kit
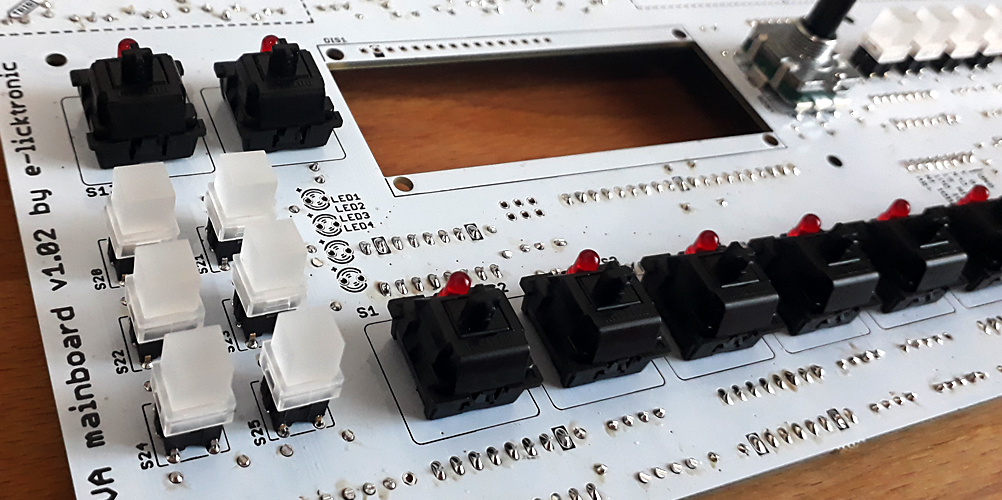
Kick section
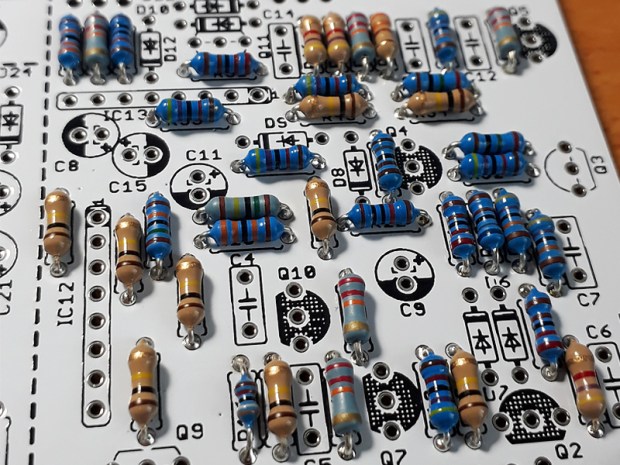
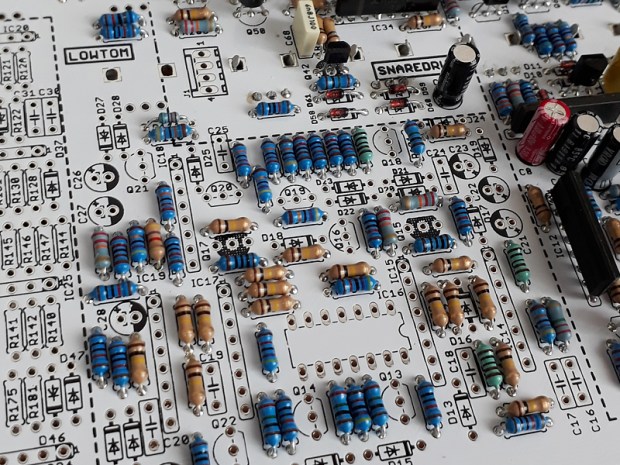
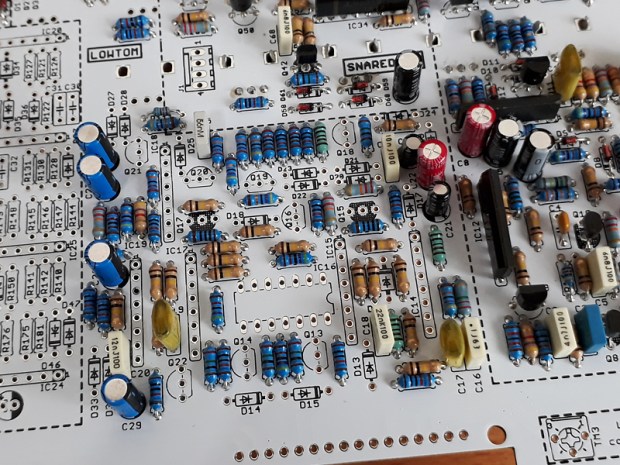
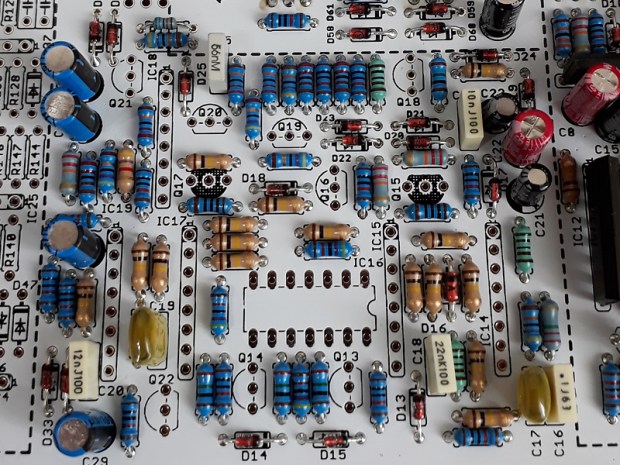
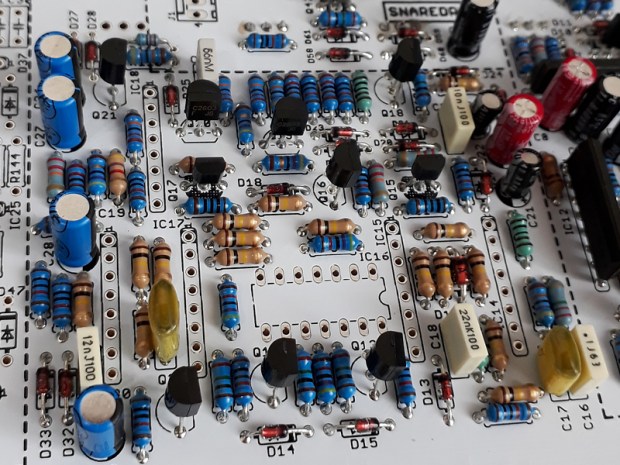
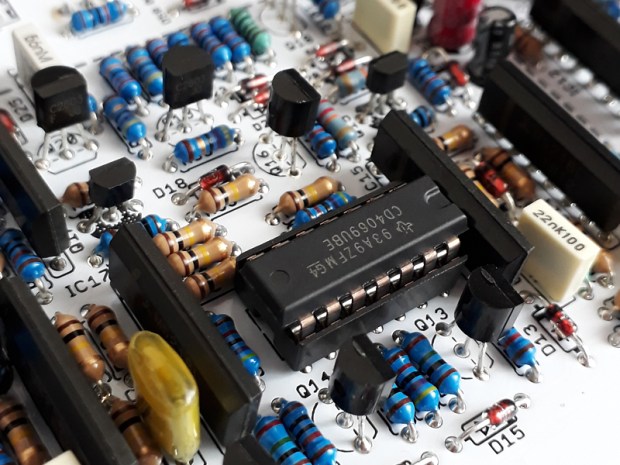
Snare section
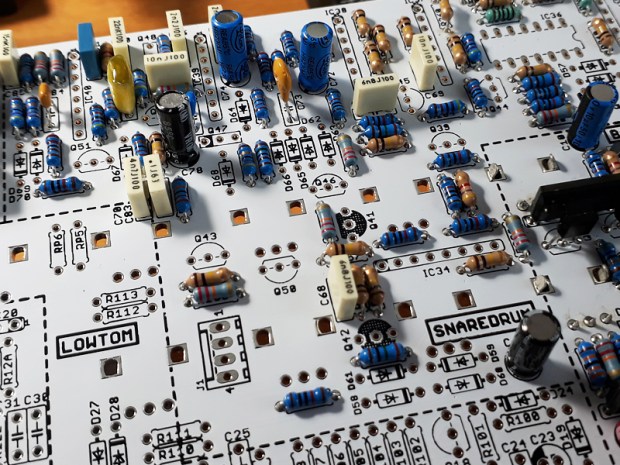
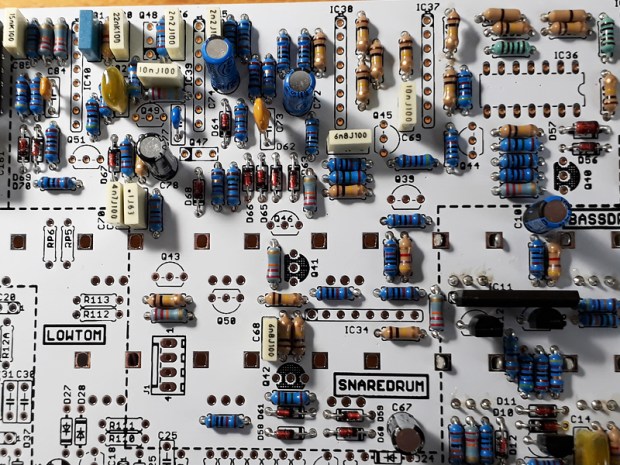
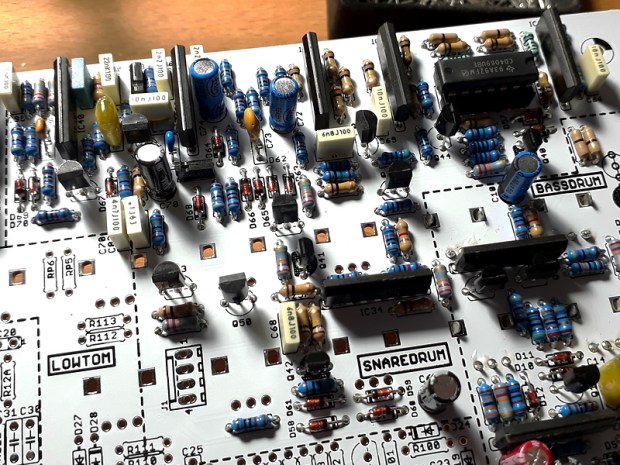
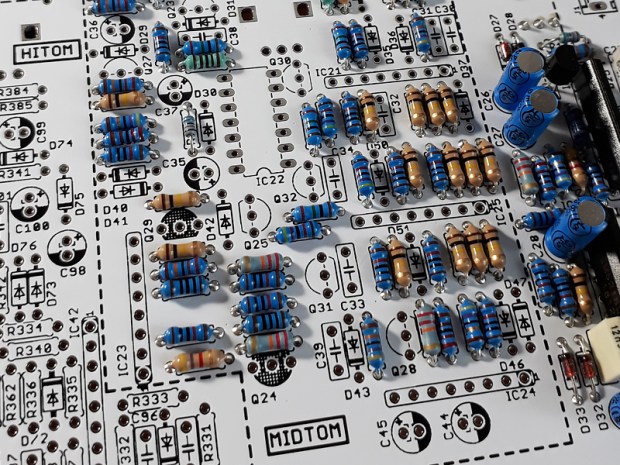
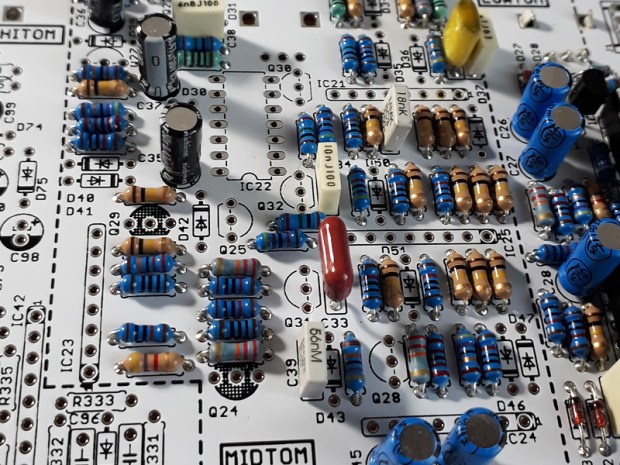
Low Tom section
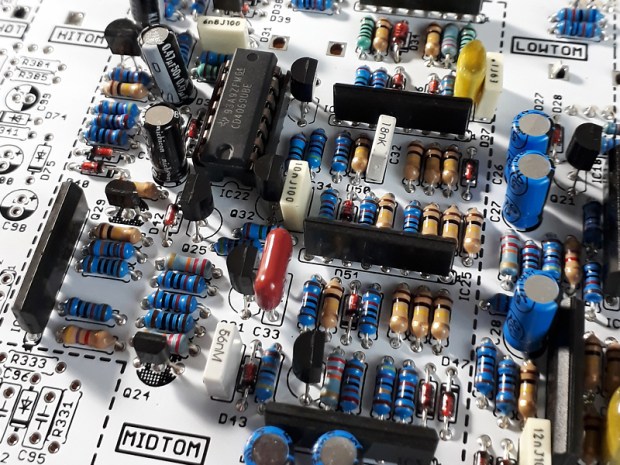
Mid Tom section
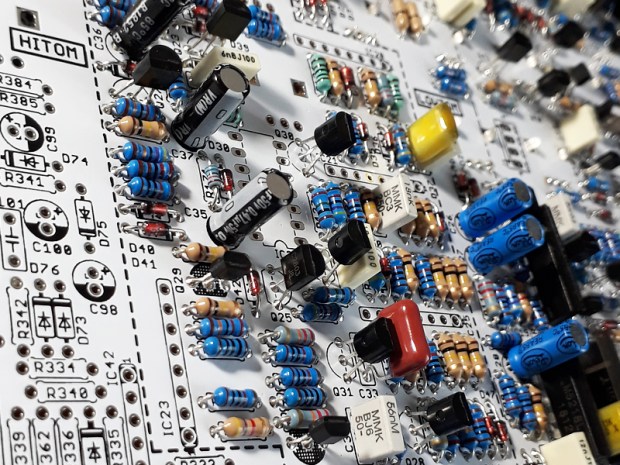
Hi Tom section
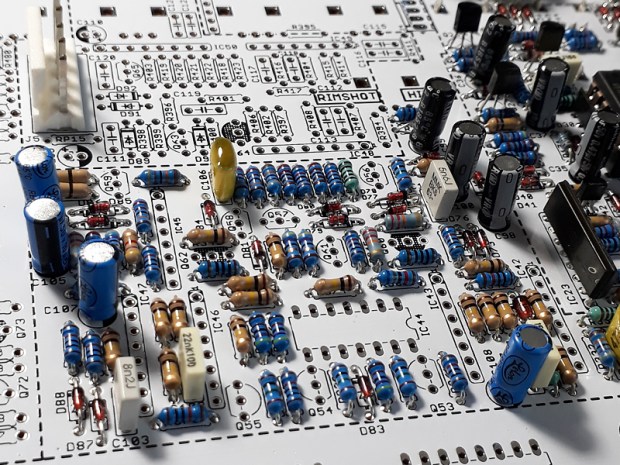

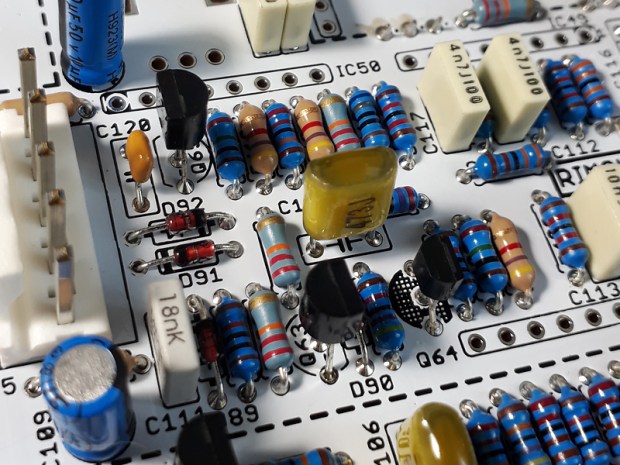
Rimshot section

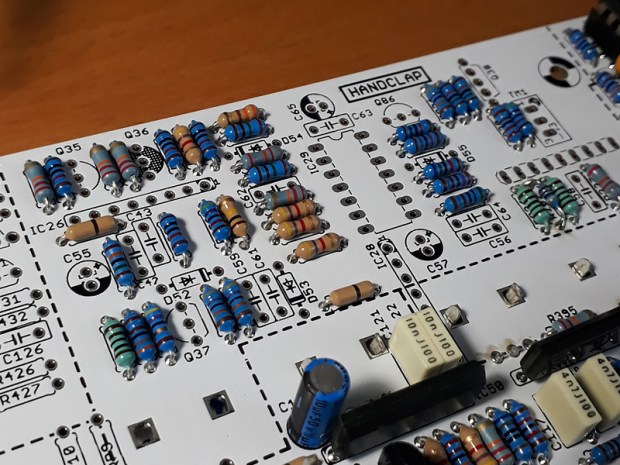
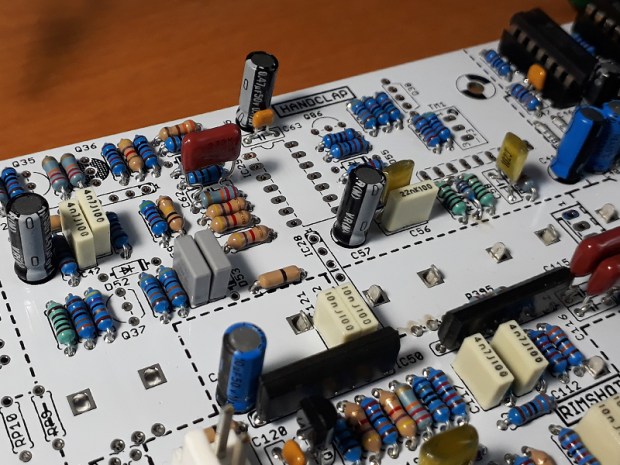
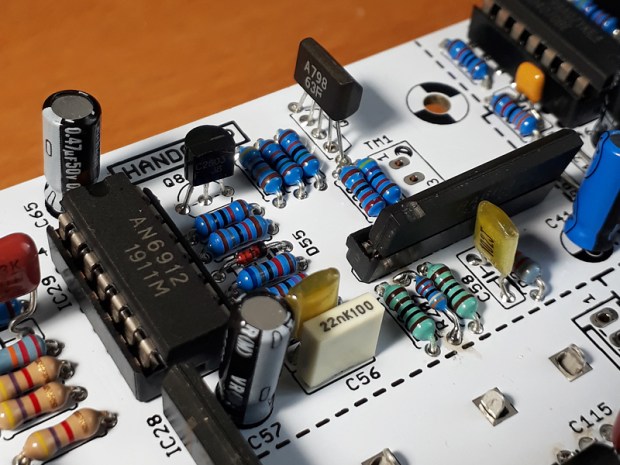
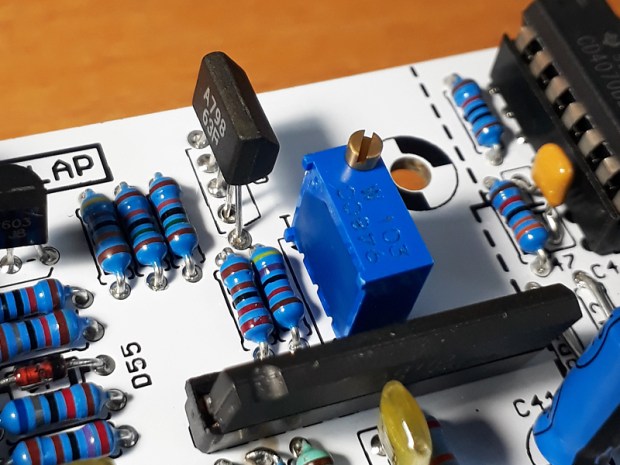
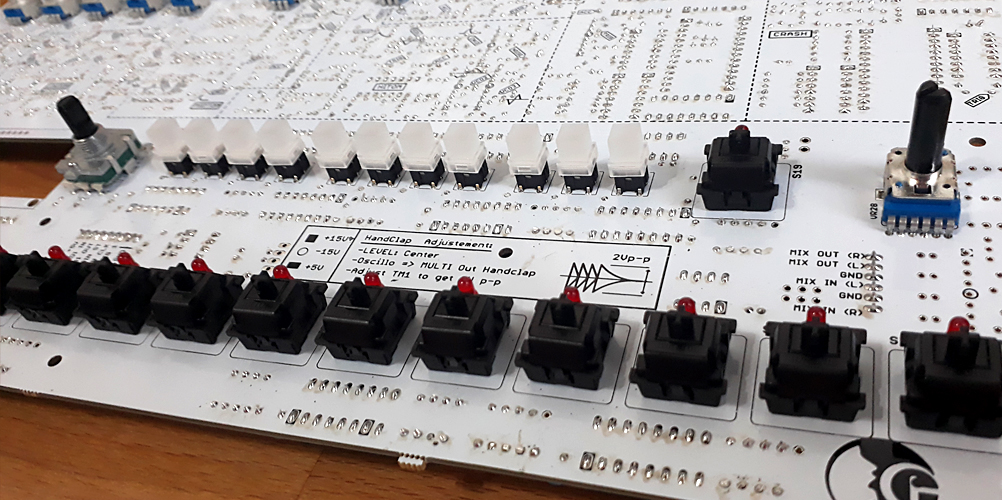
Clap section
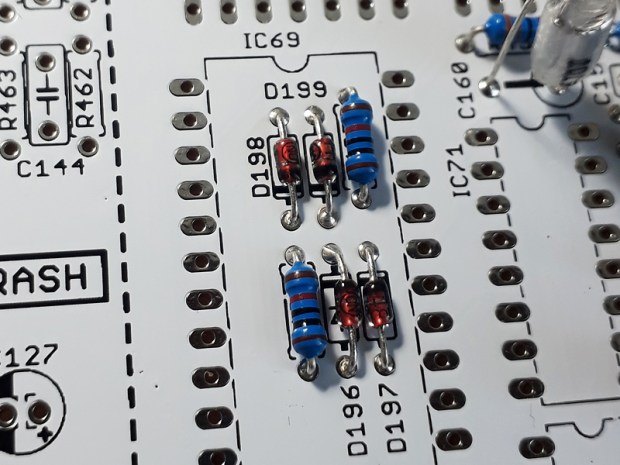
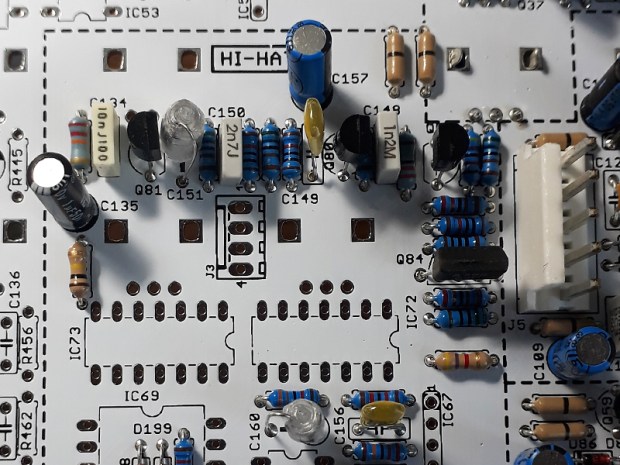
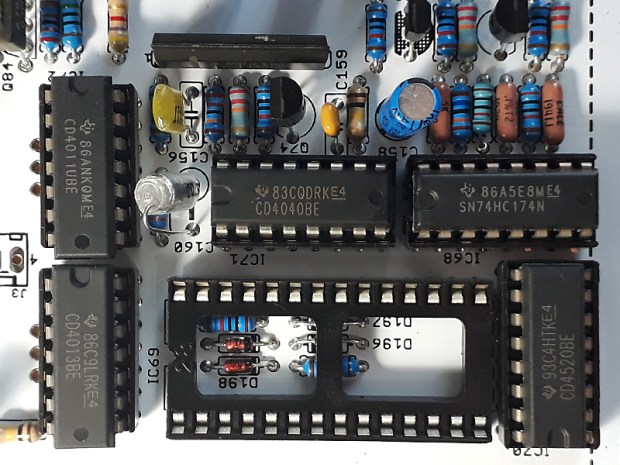
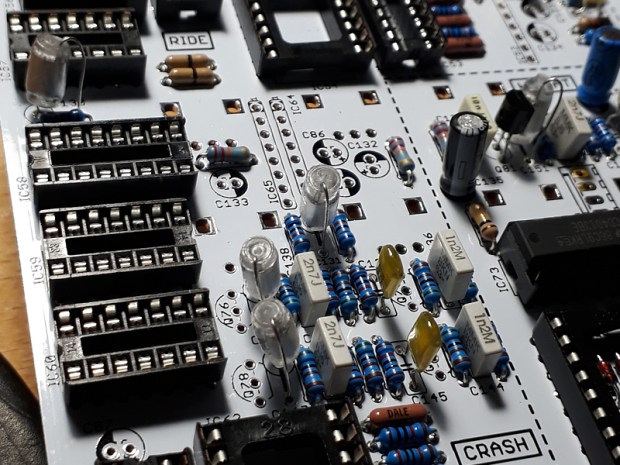
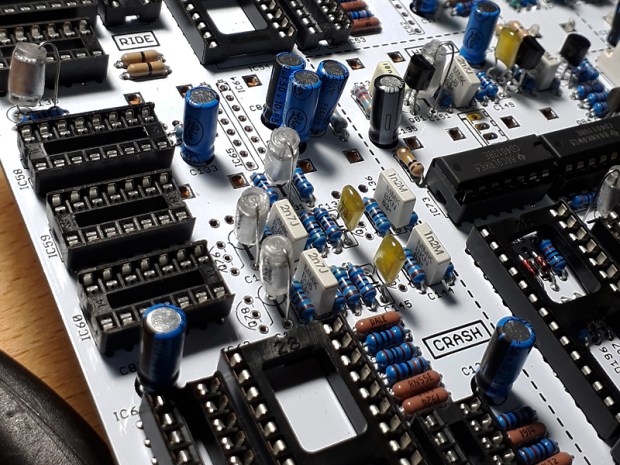
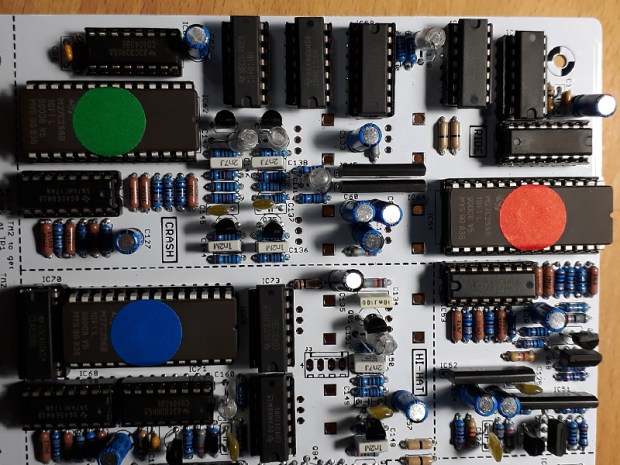
Hi-Hats section

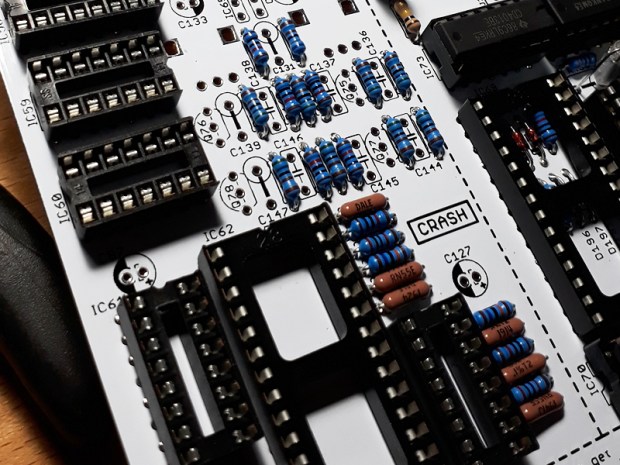
Ride/Crash section

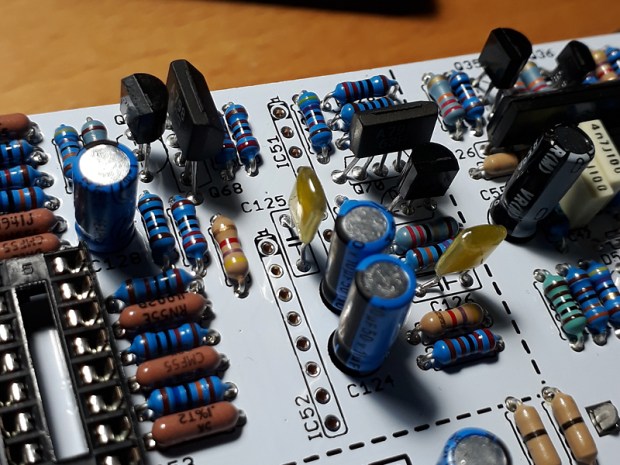
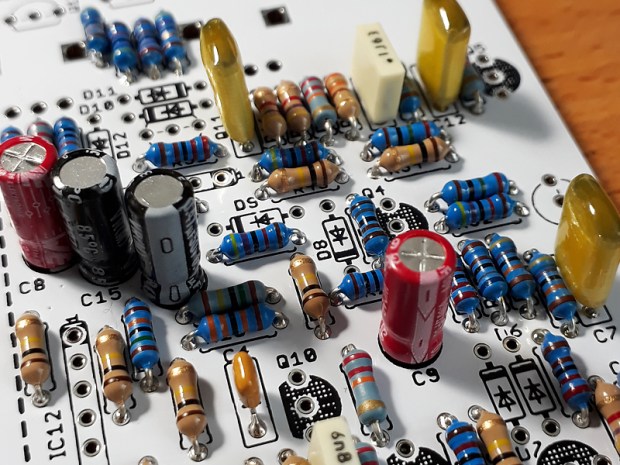
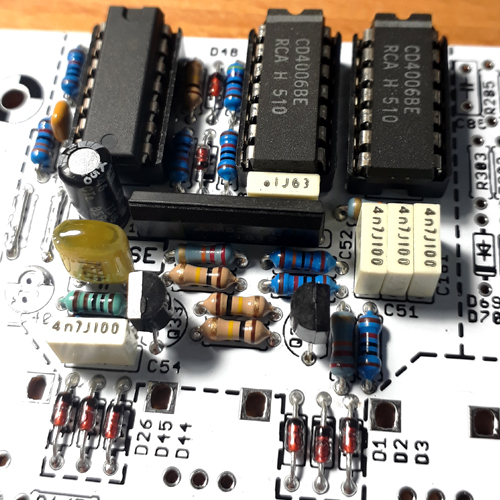
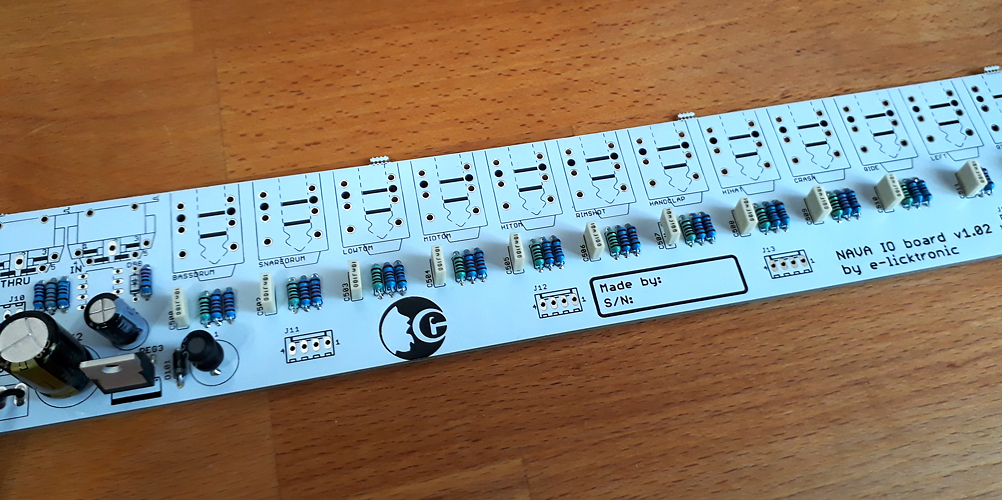
Power and Noise section

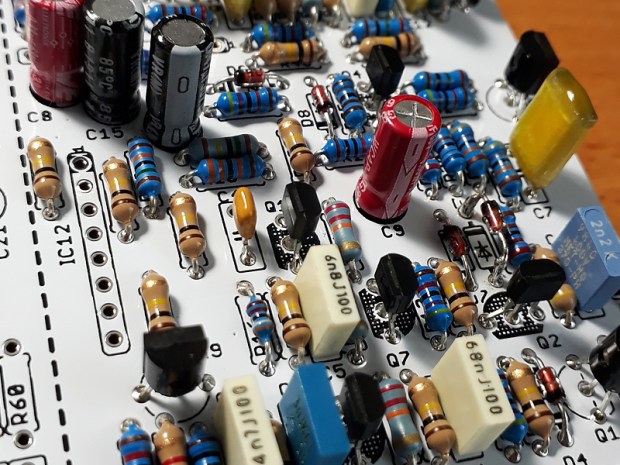
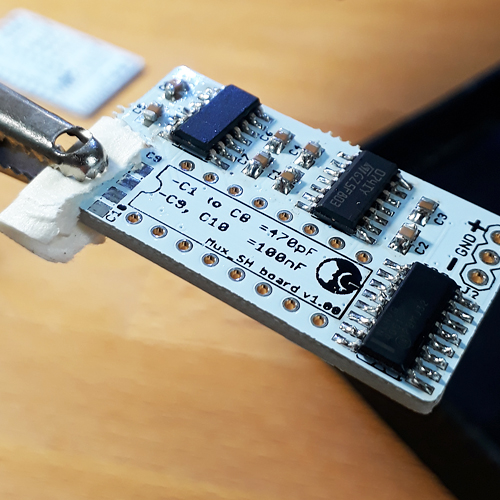
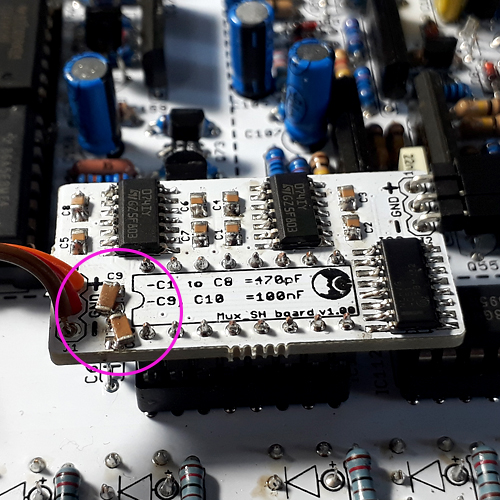
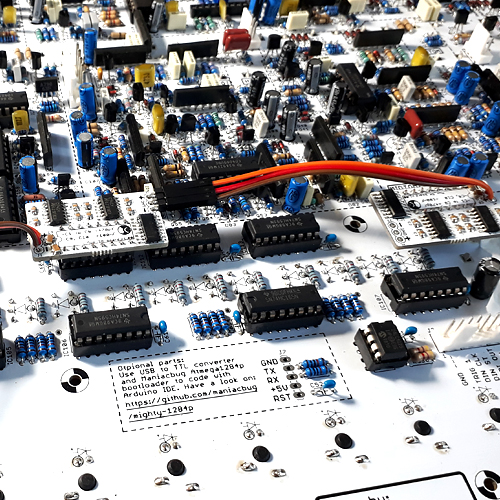
SMD section
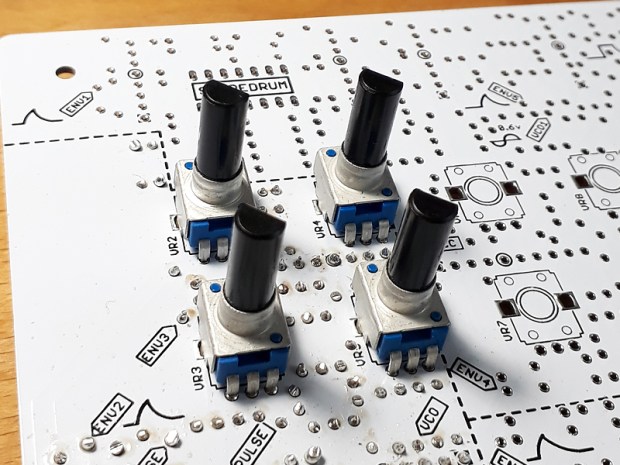
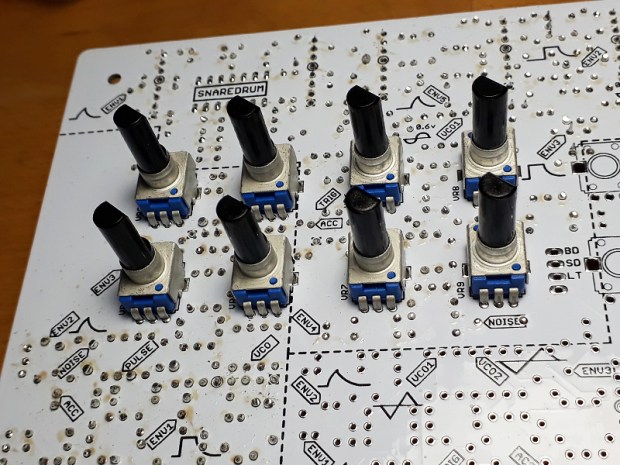
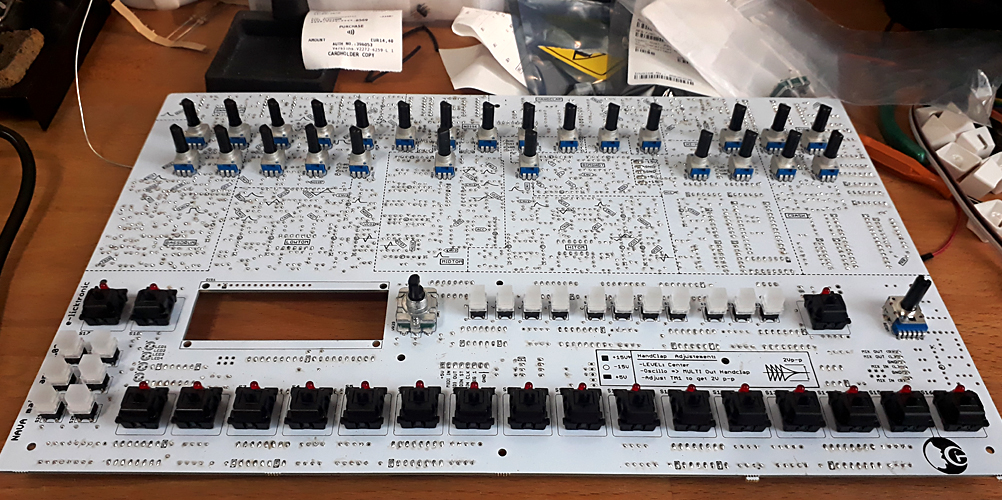
I/O and Pots/Buttons sections
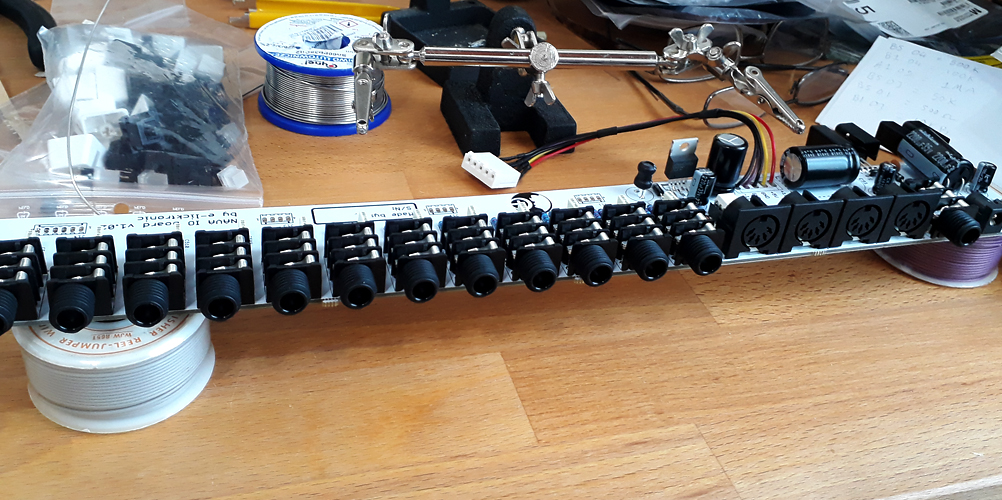

Final and Crimpy Crimps
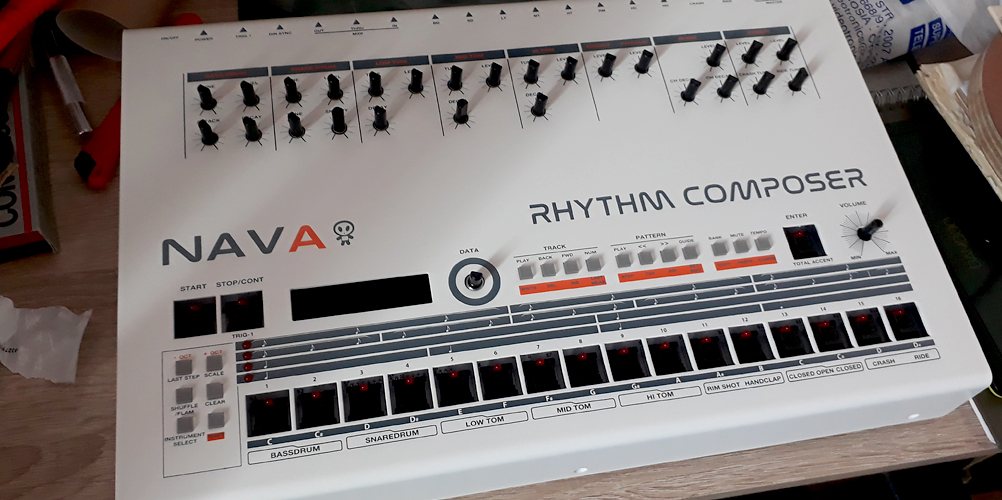

Overall, I was really pleased with the build. It all worked straight away with no issues. I did notice that the main output was a bit noisy, while the individual outputs were really clean. I searched all over the forums and it seems that it is normal but I am not 100% – has anyone else experienced this? If you have, please let me know. I hope you enjoyed the photos!
Oh and it sounds AWESOME.
