One of the things I knew I would eventually get into is PCB design. I love working on a breadboard and building it on Veroboard afterwards but, naturally, I want things to look more “professional” and tidy. Also, as you may have seen in the previous post, there is a lot of extra wiring needed in prototyping with Veroboard which can get a little tedious and messy.
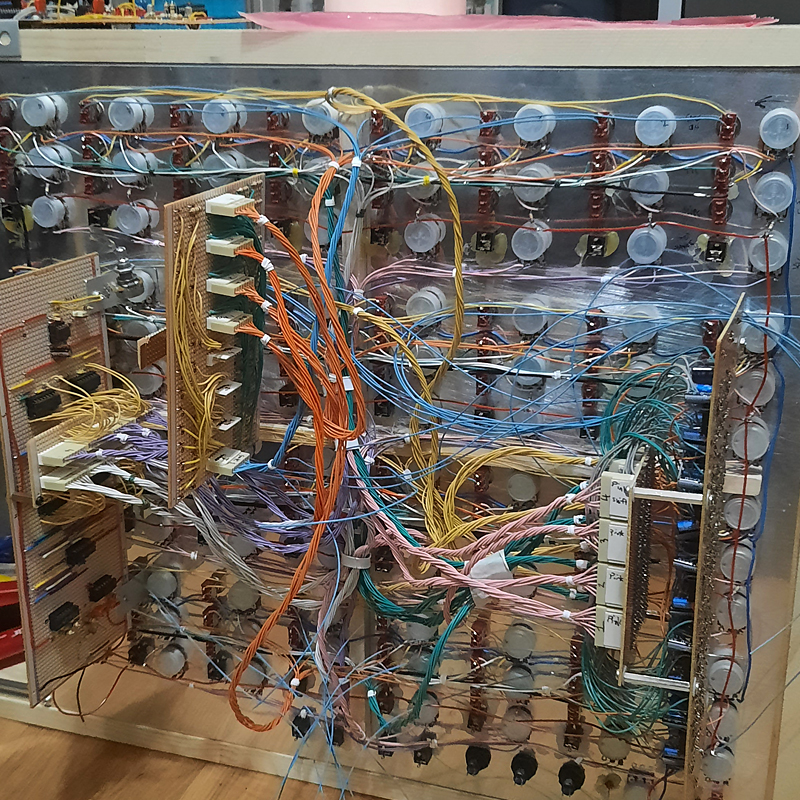
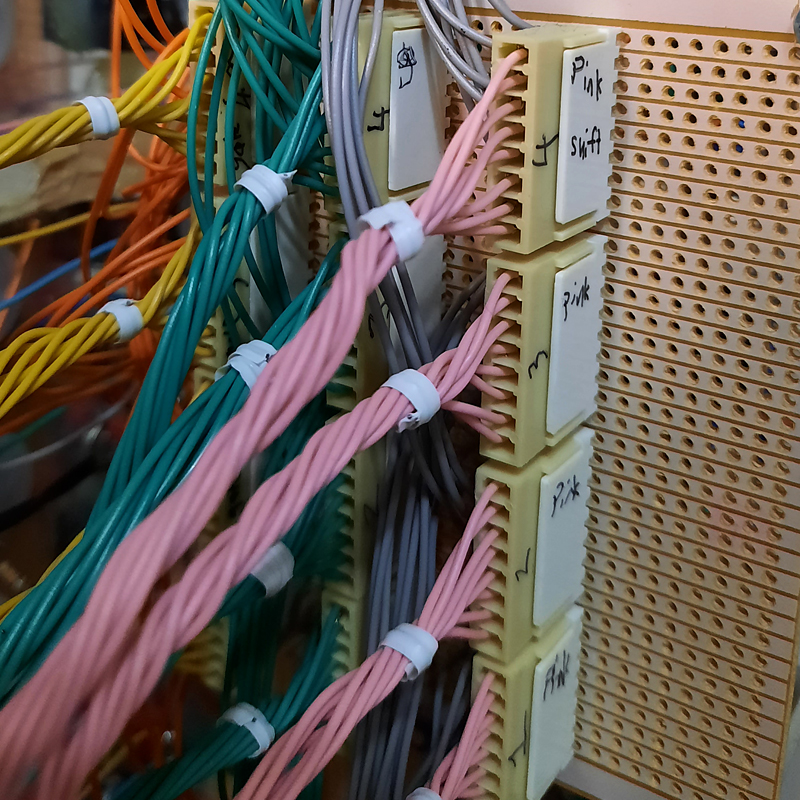
Personally, I like how it looks with all the colourful wiring but it takes up a lot of time and effort to work this way. So I decided it was time to start learning KiCad and get to work on my own PCBs. I am excited to make many different little boards so I can have a modular breadboard setup when designing new circuits. Should be fun!
However, the main reason I am learning it right now is so I can make 4 of these 32 step sequencers and have them all talk to each other and work together in the ultimate setup.
After watching a few video tutorials on KiCad I ended up watching this one three times because I like how calm his voice is and the information he provides right away is spot on. Check it out if you are interested!
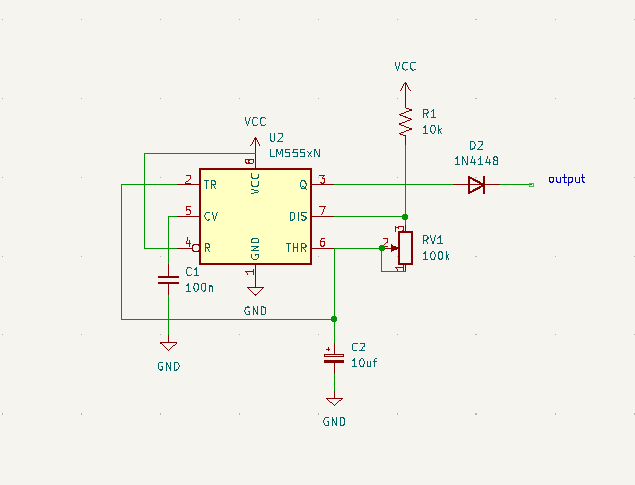
So after faffing about for a few hours I made a simple 555 schematic, added all the footprints and sort of “made the PCB” but it is nowhere near what it needs to be. I still need to get the hang of things.
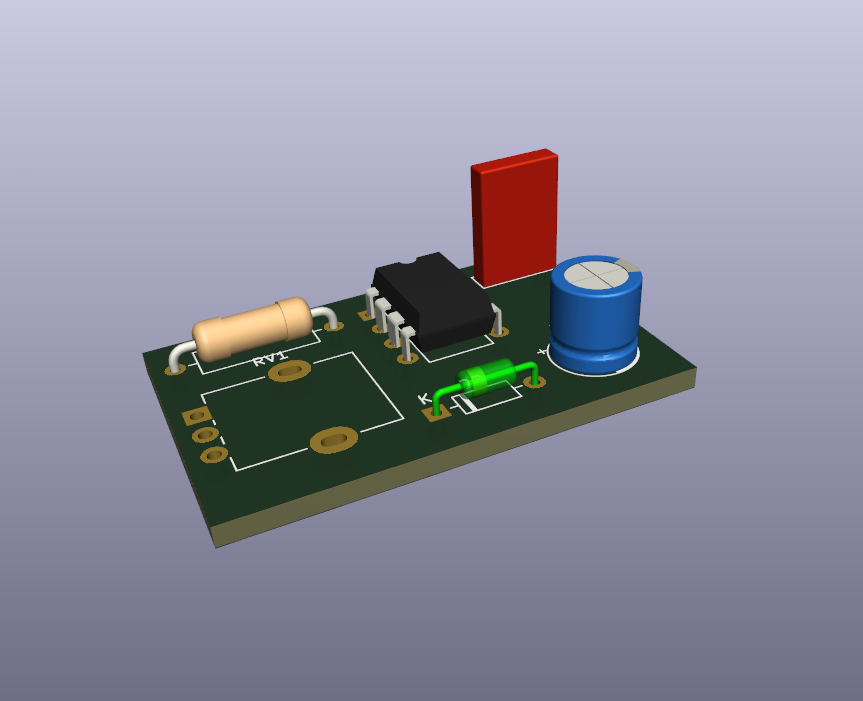
What I really love is how you can see the 3D version of the Footprint as you are selecting them. With the up and down arrows you can scroll through each one and see the 3D version if you are unsure which one is correct.
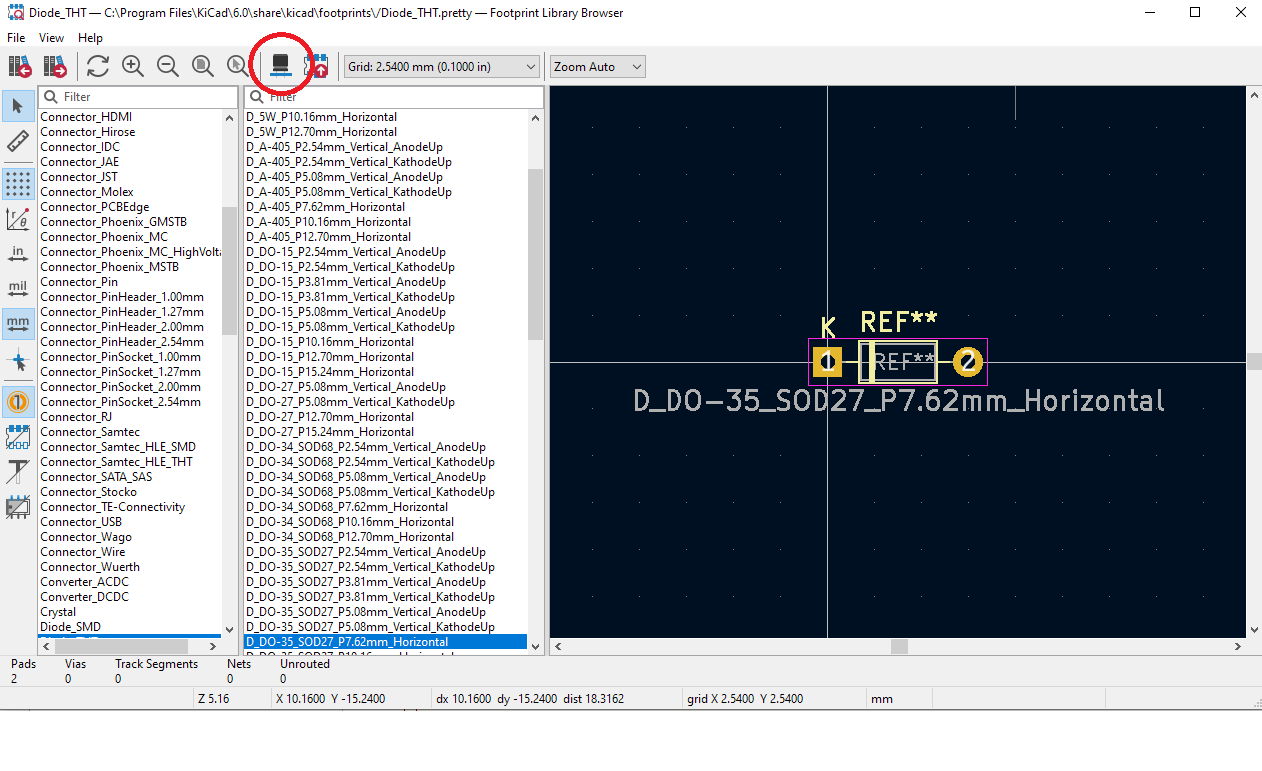

Then you get to see the Footprints and have to arrange them, making all the inner connections for the PCB which is probably the hardest part of the process (but still fun). I have not yet started that part but want to share the images anyway. This is obviously not a tutorial haha just me sharing my excitement for a fantastic program.
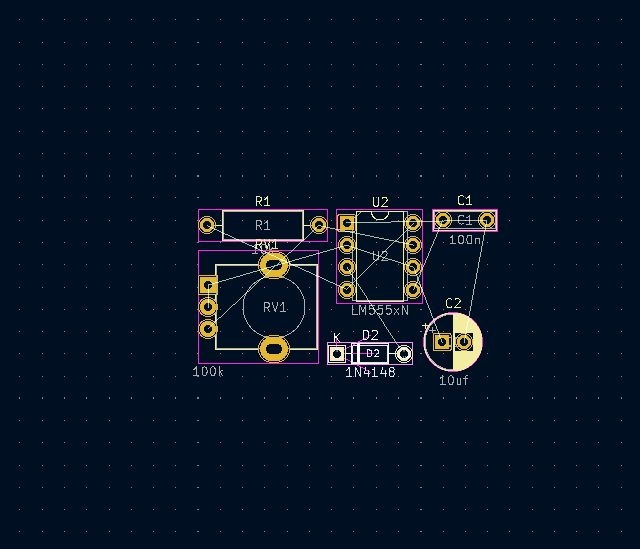
The above image is the Footprint as you first see it before editing/moving objects around and the image below is how it looks in the 3D viewer. How cool is that?
I love it!
So for the next few days I shall be deep diving into this while also finishing off the 32 step sequencer prototype. Onwards and upwards!
Edit/Add: Something I would like to add. I was watching more tutorials and thought about looking for a manual or something for KiCad and came across the official help page. If you like diving into manuals and reading is your preferred way of learning then here is the link!
And here is another tutorial I have come across a few days after posting this. It is a much more in depth tutorial and worth a watch!
Check it out here (direct link opens in new tab or watch below)
